
Conducting reproducible research with Docker (Part 3 of 3)
Published:
In the last two entries in this tutorial series I showed you how to use Docker to maintain a reproducible environment for conducting statistical analyses. Conducting reproducible reseach is primarily about scientific honesty, transparency, and the maintenance of high scientific standards. However, the choice to use Docker for reproducible research also has an awesome side-benefit: the ability to run docker containers remotely on cloud servers. In this tutorial I’ll show you how to run your docker containers on a virtual cloud “workstation” using DigitalOcean.
What’s DigitalOcean?

DigitalOcean is a web-hosting company that lets you rent virtual servers called “droplets.” Using droplets or other virtual private servers as remote workstations is a very economical way to access extra computing power. For me, for at least 80% of my workday my laptop is totally sufficient, but sometimes I really need some extra cores or extra ram (mostly for MCMC samping with the excellent but computationally demanding BRMS R package). For those times I can spin up an an 8-core workstation with 16gb of ram whenever I like at a rate of $0.24 per hour, billed to the minute. Because I only pay for the time I actually use the droplet, the extra computing power usually costs me less than my daily coffee. Perhaps that’s not enough for you? As of this writing, droplets scale all the way up to 32 cores and 192gb of ram for $1.43 an hour.
In addition to DigitalOcean, there are a number of other VPS providers that offer similar services. The heaviest hitters are Amazon Web Services and Google Compute Engine. I like DigitalOcean because it offers “dedicated” cpu instances, has a nice web interface, has nice CLI tools, offers great documentation, and is about as cheap as you’ll find anywhere for similar quality.
Running Docker containers on DigitalOcean droplets
In the first part of the tutorial we’ll …
- Sign up for DigialOcean
- Create SSH keys to make it easy to access our remote instances
- Create a DigitalOcean droplet with Docker
- Run RStudio on our remote droplet
- “Destroy” the droplet so we stop getting billed for it
Step 1: Sign up with DigitalOcean
I suggest you sign up using my DigitalOcean referral link to get a $10 credit for DigitalOcean. That way you can finish this tutorial and try out DigitalOcean for free!
Step 2: Create SSH keys
Per Wikipedia:
Secure Shell (SSH) is a cryptographic network protocol for operating network services securely over an unsecured network. The best known example application is for remote login to computer systems by users.
We’ll use SSH to communicate with the remote droplet on DigitalOcean and to remotely run commands, such as initiating the docker container. In addition, we can use it to create a “tunnel” between a port on our local machine and the remote machine, and can also use it to transfer files back and forth. Using an SSH key will let us do all of this securely without having to enter passwords at every step of the way.
DigitalOcean actually offers a great tutorial for creating and using SSH keys on your account, so I’ll leave the heavy lifting to them. You’ll need to follow at least steps 1 through 4 of the linked tutorial.
Step 3: Create a DigitalOcean droplet with Docker
Now the main event. We’ll create a new DigitalOcean droplet running docker. Sign in to DigitalOcean and choose “create droplet”.
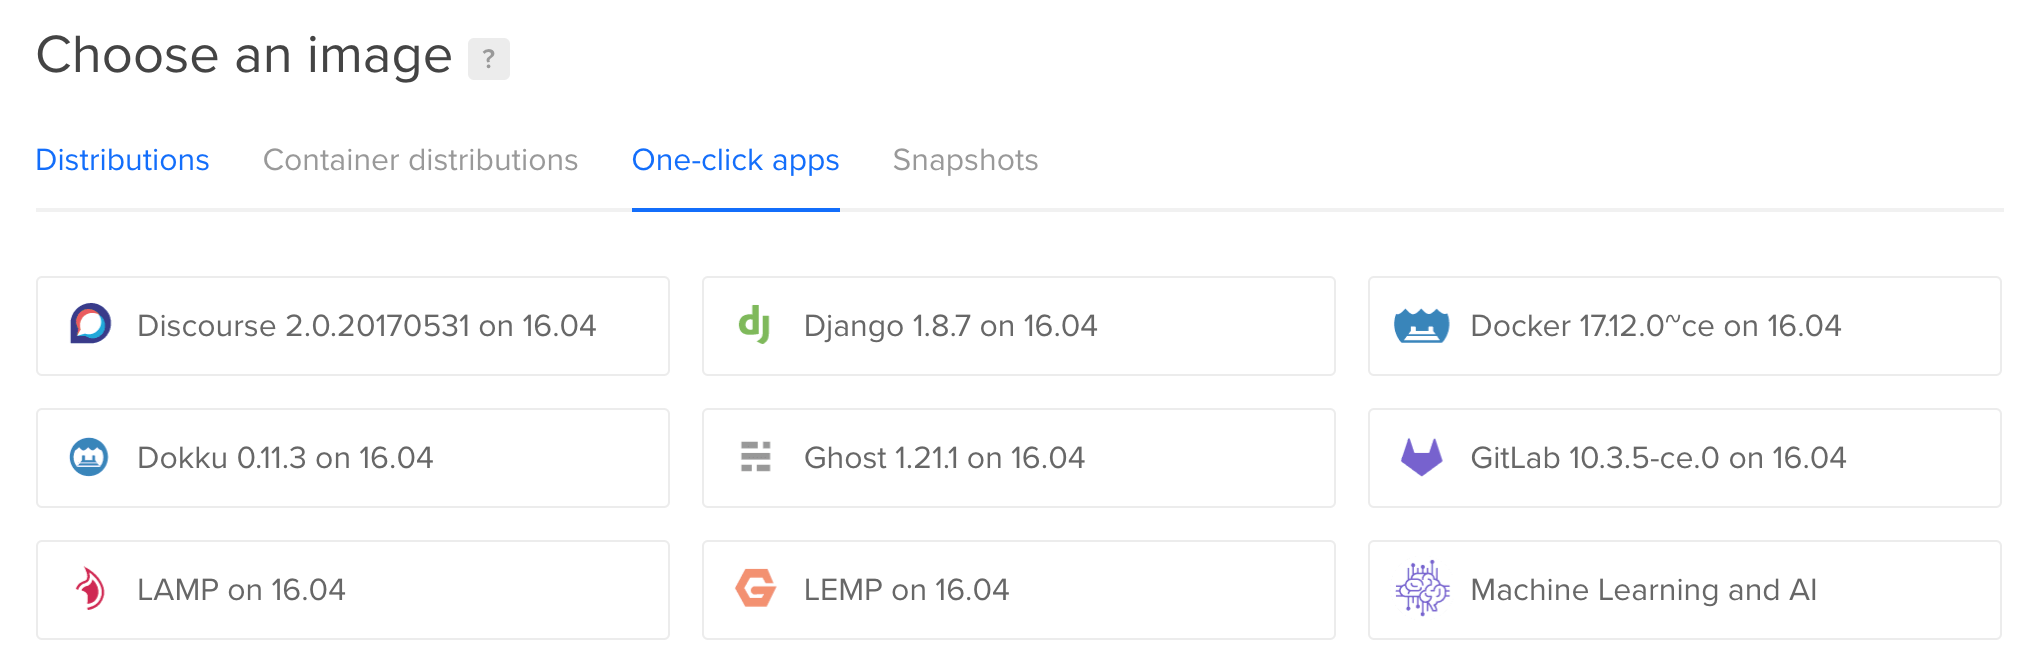
From the “choose an image” menu select “One-click apps”. Then choose “Docker 17.12.0 on 16.04”. This will create a docker droplet running Ubuntu 16.04 with Docker pre-installed.1
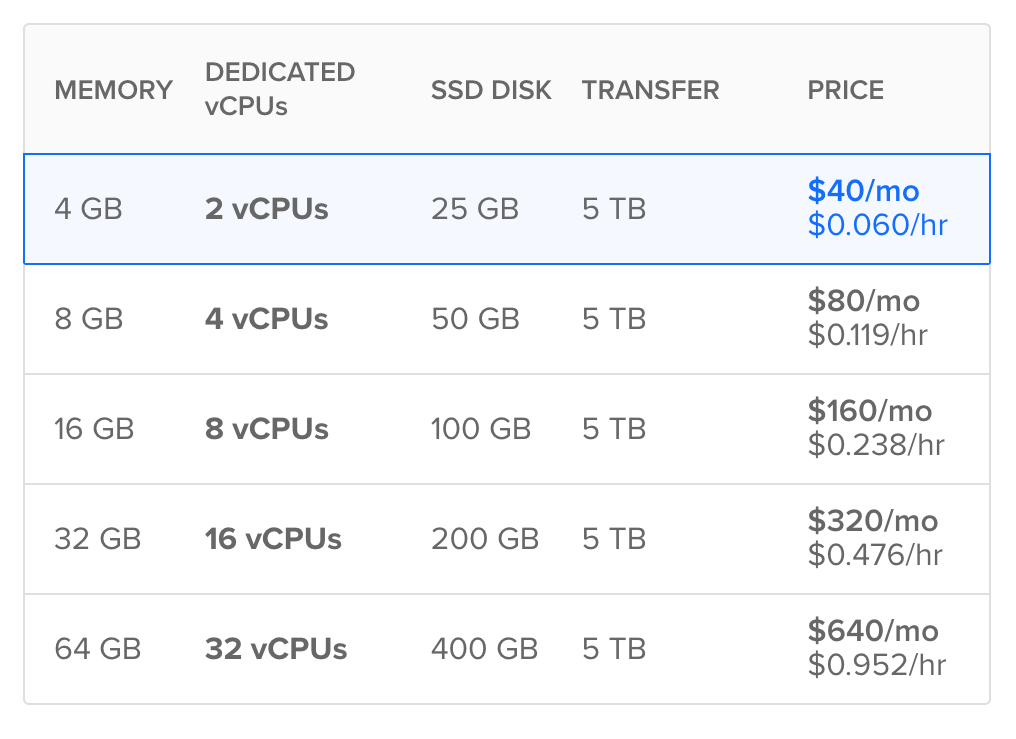
Next, you’ll choose a droplet size. For our purposes let’s choose the 2 vcpu dedicated instance. This will have some oomph to play around with but without costing us too much for the purposes of the tutorial
Then, choose your datacenter region. You can choose whichever you like, though some options are only available in certain regions.
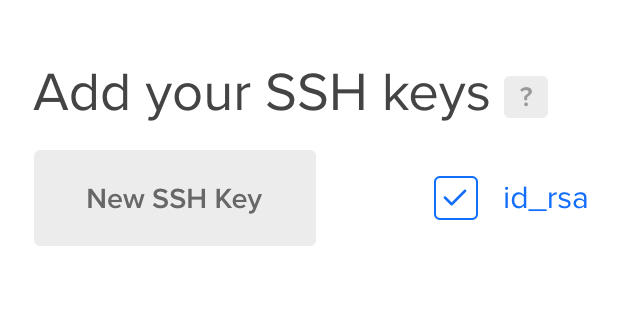
Finally, make sure to “include the SSH key” you created in step 2. Name your droplet however you like and click “Create”.
Step 4: Running RStudio remotely
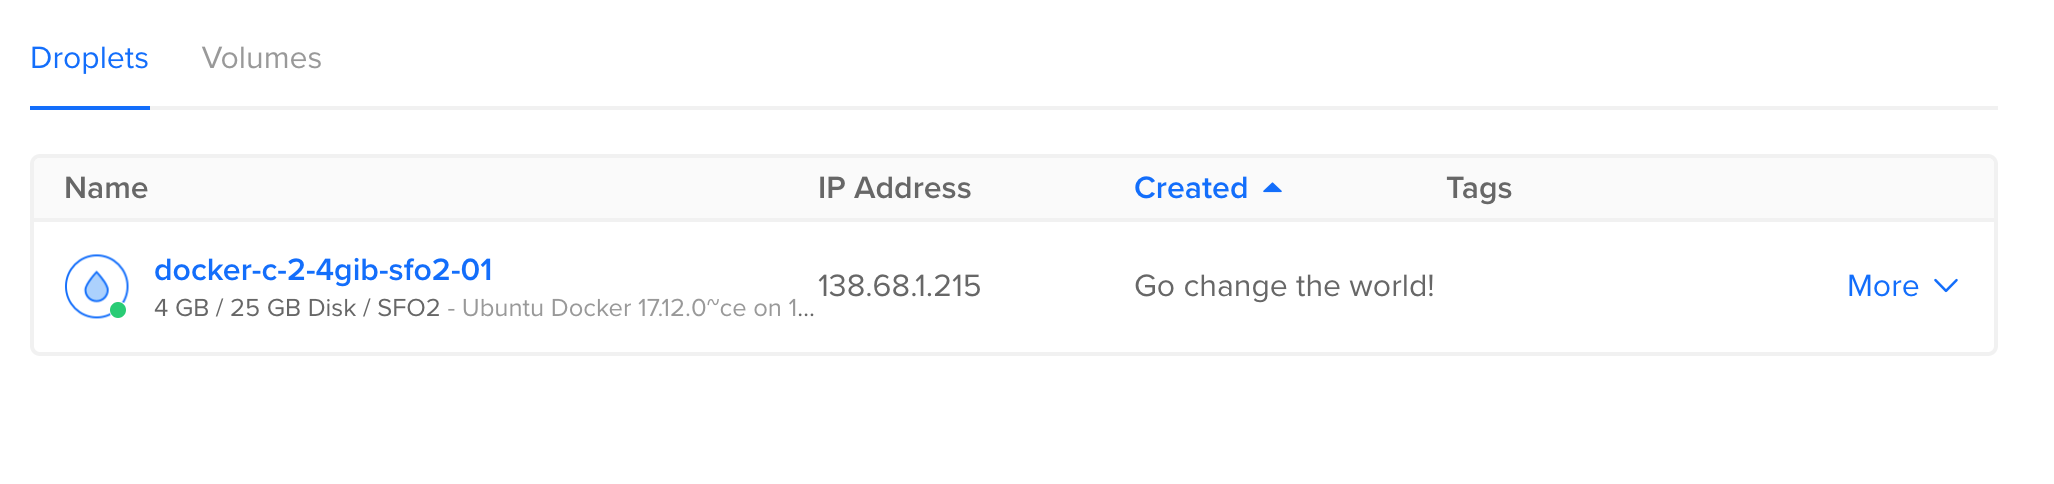
Once your droplet is created, copy its address to your clipboard by clicking on it. Now switch back over to terminal and run (being sure to use your droplet’s ip address):
ssh root@138.68.6.84
Then type yes at the prompt. This will give you a shell prompt on your remote DigitalOcean server as the root user. Now, you can start your docker container exactly as you would on your local computer.2 Run:
docker run -d -p 8787:8787 -e USER=yourName -e PASSWORD=secretPassword -e ROOT=TRUE rocker/tidyverse:3.4.3
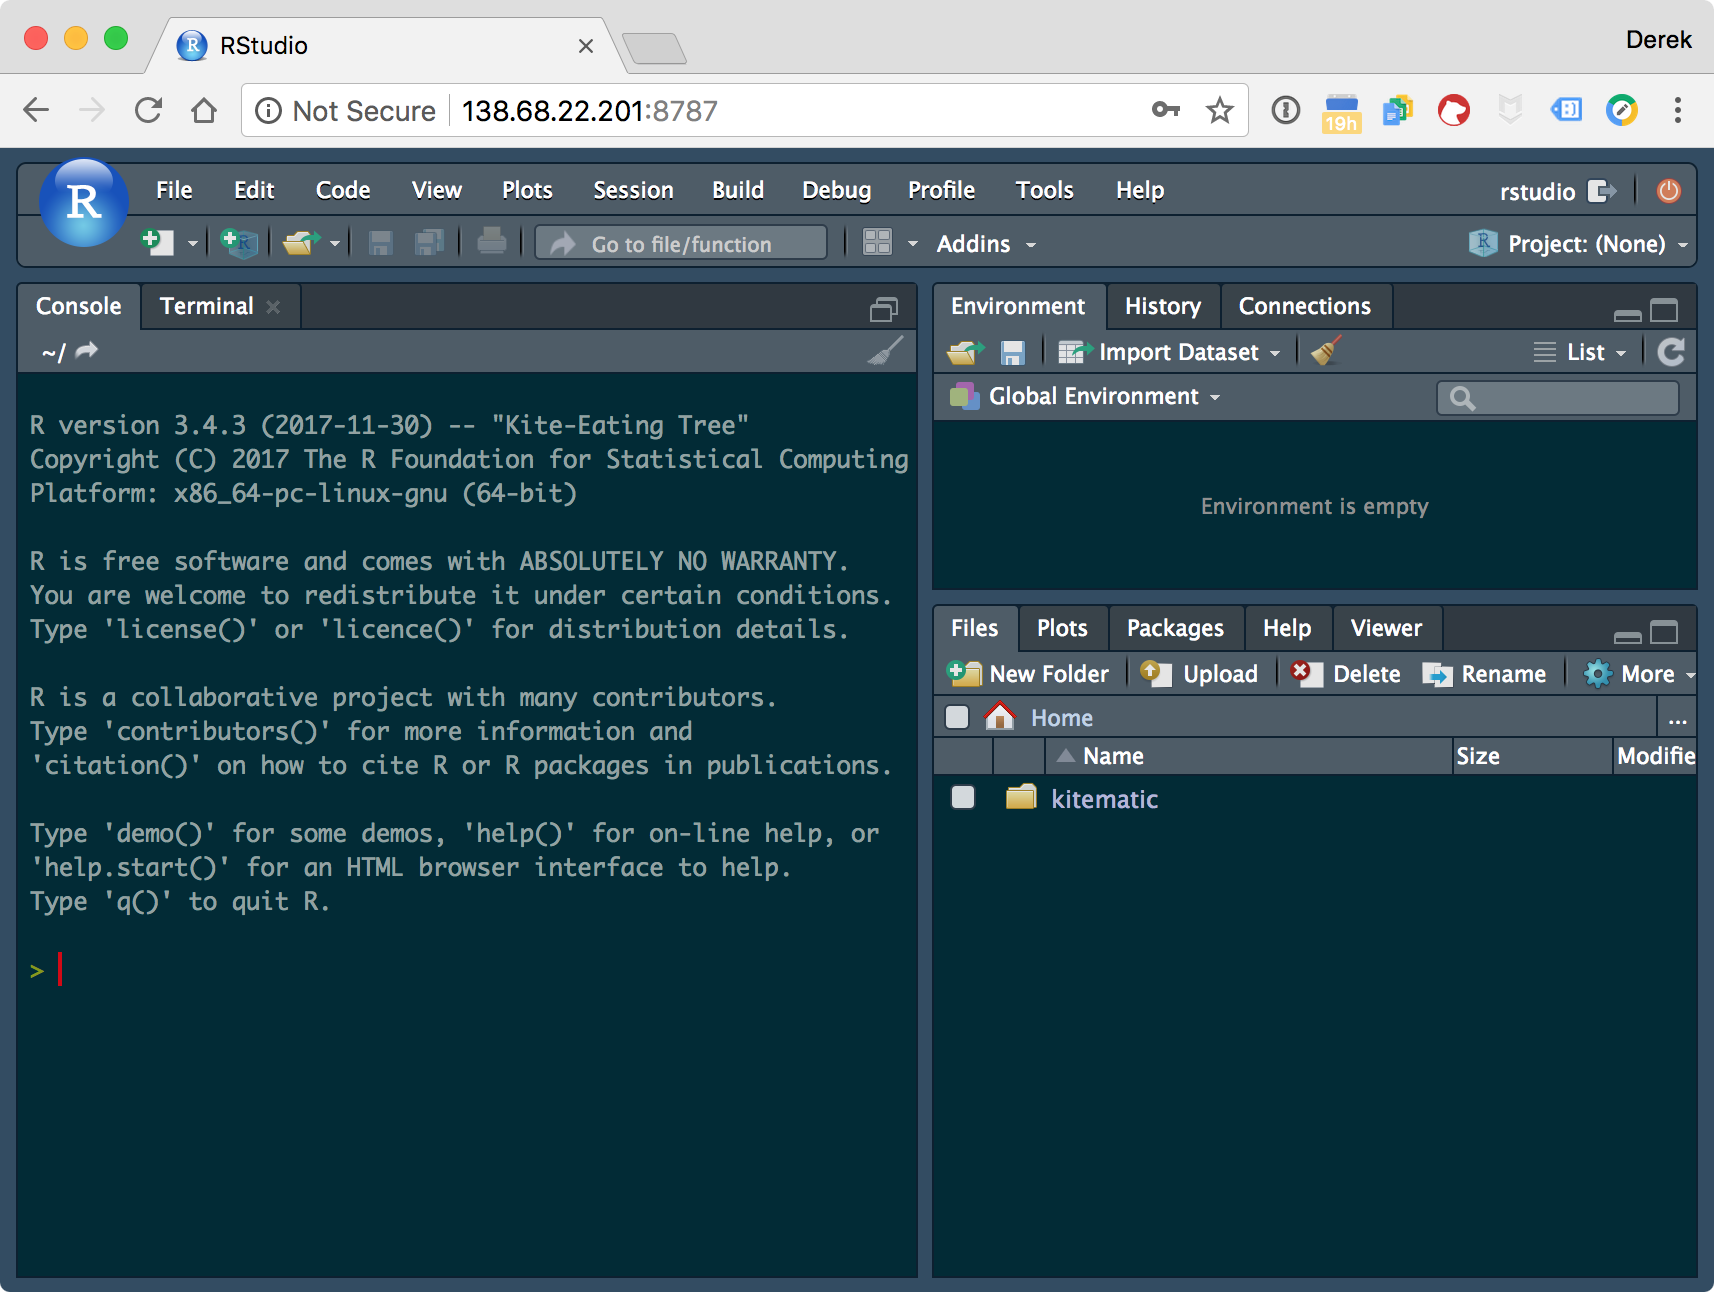
Hop on your browser and point it to your droplet’s ip address and port 8787. As I made this tutorial mine was 138.68.1.215:8787. You should be greeted with the RStudio sign-in page.
Do note that using an original password (and possibly username) is much more important now that you’re working on a remote server. Anyone in the world can type in that ip address and port and potentially access your droplet, so you want to ensure there’s real protection.
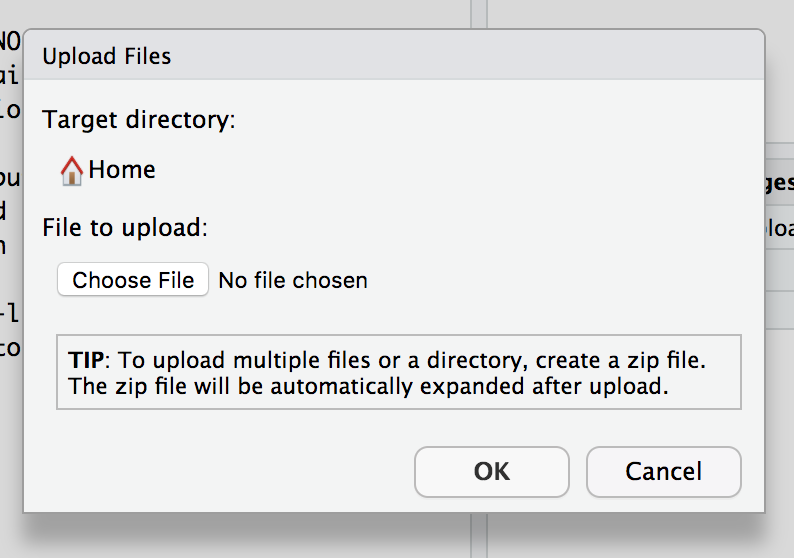
Now that you’ve got RStudio running remotely, there are a few different ways to get your files onto it. The most direct is to upload them from the files window in the web interface. You can also securely copy them using ssh and the scp command.
My personal preference is to interface with github. I save all my R projects as github repositories, and clone whatever I’m working on to the remote machine. You can do this through command-line, or directly in the rstudio interface: Go to File -> New Project -> Version Control -> Git and enter the repository name. After you enter your username and password, the files will be cloned to the remote machine and you can commit-push when you are done working.
Step 5: Destroying the droplet
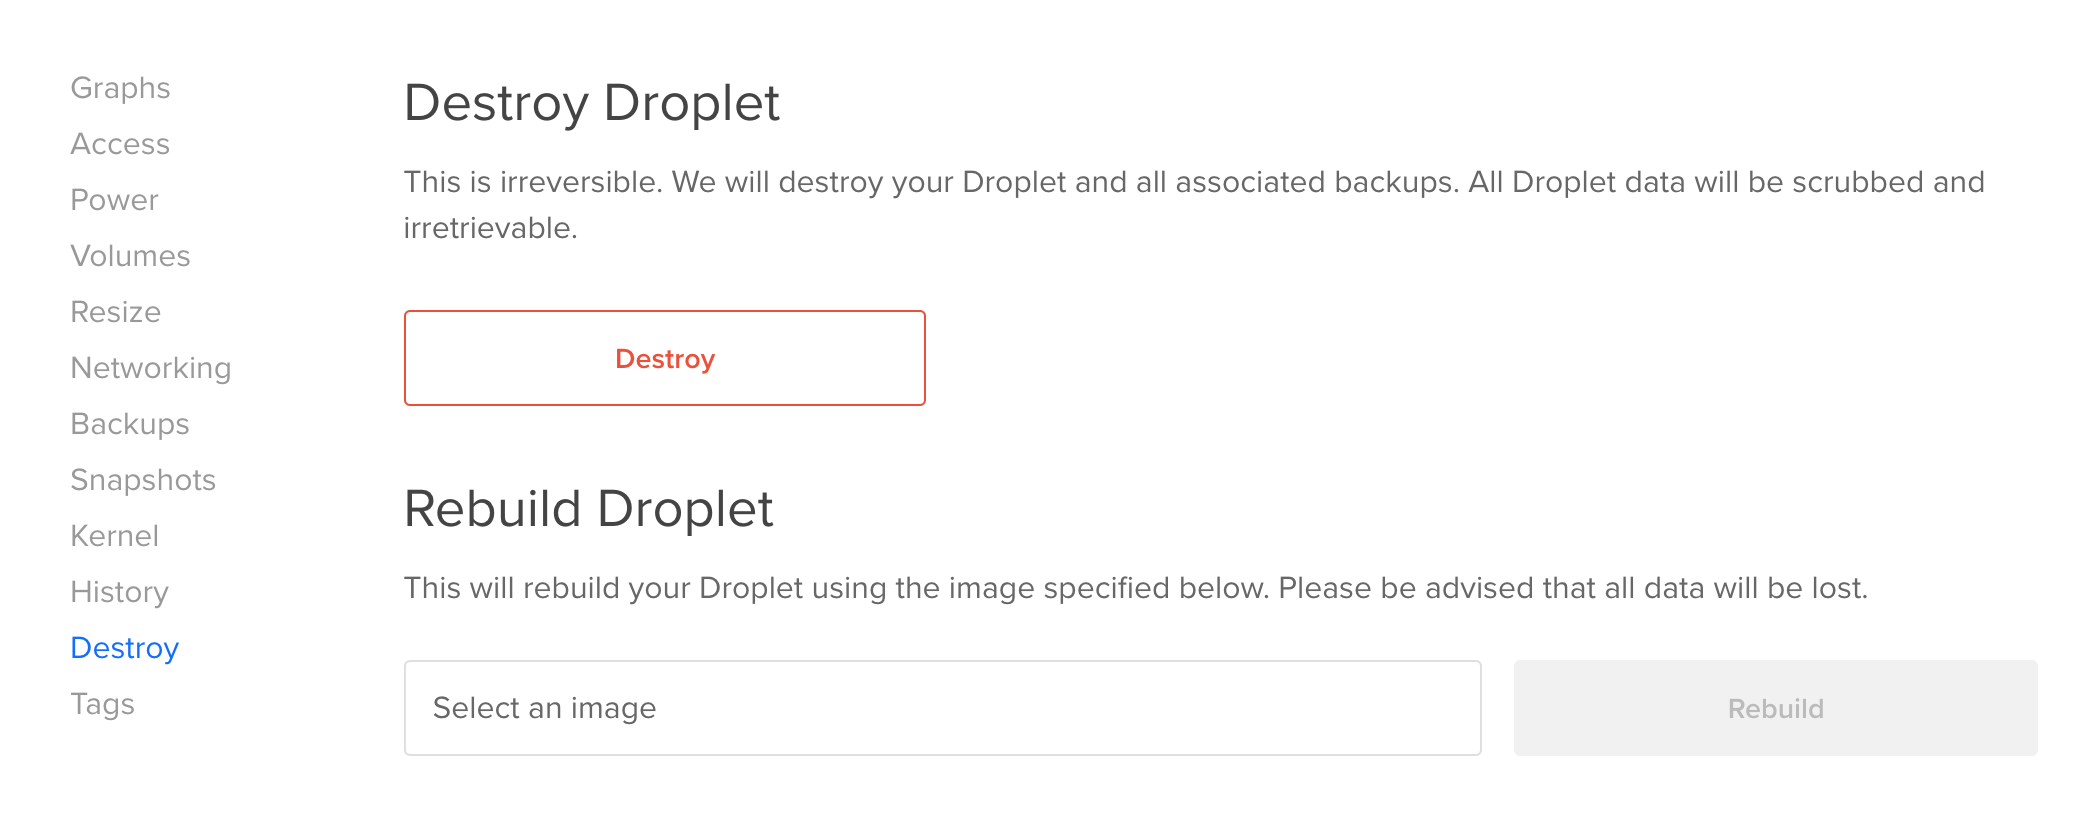
Once you’re done working you’ll want to “destroy” the droplet so that you are no longer billed for it. This sounds dramatic but I think it’s so-named to ensure you won’t forget to save your work from the droplet to your local machine or to a repository like github. To destroy the droplet, navigate to its page on the DigitalOcean website and choose “Destroy”.
Creature comforts
Working from within a Docker container offers some great advantages, but it can also have some drawbacks. Because reproducibility demands the container be available to anyone, there’s a limit to the amount of customization that we should build into the container itself. For instance, we should never put any passwords, keys, authentication info, etc. into a Docker container. Here I’ll show how we can add some creature comforts to our RStudio environment within our docker container, without compromising security or preventing others from using it easily.
Setting up git username and password
Using the git and github integration in RStudio server requires telling git how to sign commits. As is, this means running the following commands at the shell every time we create a new docker container:
git config --global user.name "Your Name"
git config --global user.email "yourEmail@gmail.com"
That’s a pain.
We’ll fix this by adding a script to the /init startup directory of our Rocker-based RStudio container that will perform this step for us. Rather than hard-coding our name and email–which could make this difficult for others to use, we’ll pass that info in as an an environment variable.
Here’s the script we’ll create in our docker project folder (the same folder with the Dockerfile) as git_config.sh:
#!/usr/bin/with-contenv bash

GIT_USER=${GIT_USER:=none}
GIT_EMAIL=${GIT_EMAIL:=none}

if [ "$GIT_USER" != none ]; then
	echo -e "[user]\n\tname=$GIT_USER\n\temail=$GIT_EMAIL" > /home/rstudio/.gitconfig
fi
Then, we’ll modify our Dockerfile to add this file to the appropriate startup directory. Here’s how we’d modify the Dockerfile I created in part 2 of this tutorial:
####### Dockerfile #######
FROM rocker/tidyverse:3.4.3

ENV DEBIAN_FRONTEND noninteractive

COPY git_config.sh /etc/cont-init.d/gitconfig

RUN apt-get update -qq && apt-get -y --no-install-recommends install \
	libglu1-mesa-dev \
&& install2.r --error \
    --deps TRUE \
    lme4 \
    car
Copying this script into /etc/cont-init.d sets it to run at startup. The script looks for environment variables GIT_USER and GIT_EMAIL and if they exist it runs the commands for us. When we start the docker container we can pass in that info with -e flags and it will set things up for us.
Changing themes
Personally, I like using the “Solarized Dark” theme in RStudio. Rather than manually changing the themes each time we run the container, we can also make these changes using environment variables.
To do so, create a set_theme.sh script in the docker project directory, with the following content:
#!/usr/bin/with-contenv bash

THEME=${THEME:=none}

if [ "$THEME" != none ]; then
	mkdir -p /home/rstudio/.rstudio/monitored/user-settings
	echo "uiPrefs={\"theme\" : \"$THEME\"}" > \
	/home/rstudio/.rstudio/monitored/user-settings/user-settings
	chown -R rstudio /home/rstudio
fi
Then, just like before we add another line to the dockerfile:
####### Dockerfile #######
FROM rocker/tidyverse:3.4.3

ENV DEBIAN_FRONTEND noninteractive

COPY git_config.sh /etc/cont-init.d/gitconfig
COPY set_theme.sh /etc/cont-init.d/theme

RUN apt-get update -qq && apt-get -y --no-install-recommends install \
	libglu1-mesa-dev \
&& install2.r --error \
    --deps TRUE \
    lme4 \
    car
Putting it all together
When you’ve got your scripts and dockerfile written correctly, add those scripts to the git repo, commit, and push to trigger the automated build. Once the image is ready, we can pass in our preferred defaults as environment variables to the docker run command.
docker run -d -p 8787:8787 -e USER=yourName -e PASSWORD=secretPassword -e ROOT=TRUE -e GIT_USER="gitUsername" -e GIT_EMAIL="yourEmail@gmail.com" -e THEME="Solarized Dark" rocker/tidyverse:3.4.3
Voilà!
You can extend this general approach to run whatever commands or set whatever settings you like. For more advanced users, here’s more information on the init setup being used by the Rocker images.
Conclusions
One virtue of using Docker containers for reproducible research is that they are complete and yet fully portable. This allows others (including our future selves) to reproduce our work, but with the help of RStudio and RStudio server, it also means we can do that work wherever we want.
Another option here is to choose Container Distributions and coreOs. This is a more minimal linux distribution that also has docker pre-installed. If you choose to go this route you’ll need to login as user “core”, using
ssh core@ip.addressin the next step. ↩You might note I’m not mapping a volume into the container. That’s because there isn’t any data or files on this remote server, and instead I plan to do pretty much everything from within the container. If we wanted to
scpsome files or something, then we would want to do some mapping. ↩